The Plant Recorder app is actually elegantly simple and the built-in help screens are more than enough to navigate it. But of course, the app is quite useless until you can get it to relate to your gardens, and getting this setup seemed a bit daunting at first. In its configuration help, the app points you to its website, www.cultorum.com, and there, in the Support menu, you get access to two important PDF files; Configuration and User Guide. The Configuration file is critical to getting started and it outlines the necessity of having a garden plan (to put the plants on) and how to engage it. There is no magic incantation available to produce this plan, so users are immediately faced with the hurdle of providing it. Perhaps that is why there are only 500+ installations of Plant Recorder.
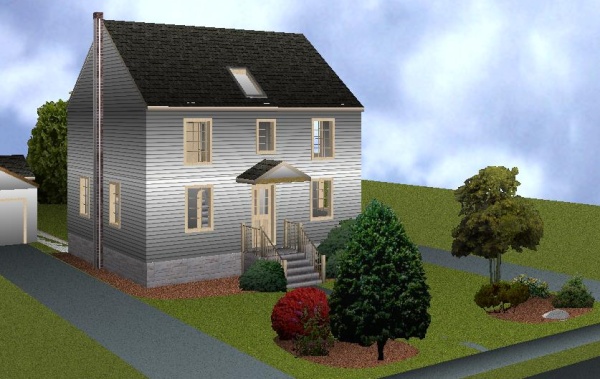
Fortunately for me, plans are not unfamiliar – I had been making them for work, using a low-level CAD program, since 2008. And my practice project for learning this program was plotting out my house and the property it sits on. So I had the property outlines already, just not the gardens. I could have taken a screen shot, and roughly added some garden shapes to the JPEG image, but that would have been second best. The best choice was to provide an .SVG (Scalable Vector Graphics) plan. My own graphics program wasn’t up to this, so I honed in on the “Inkscape is a free SVG editor” advice and ran with it. (I’ve been running ‘free’ for a long time.)
With Inkscape installed, I created a File|New project and used File|Import to insert my JPEG screenshot of the property plan. It wasn’t the same size as the page, so I selected the plan and opened File|Document Properties to Resize page to drawing or selection, adding appropriate margins first. It’s important to set this the way you want, because once you get going in Plant Recorder, all plant references are to locations on the page – the app does not ‘see’ the plan that you’ve put on it, so you can’t shift it around or resize it.

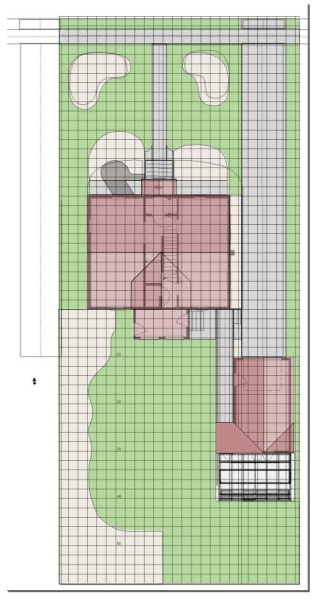
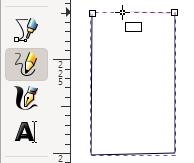
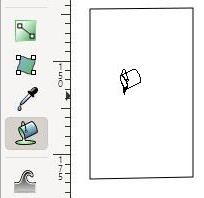
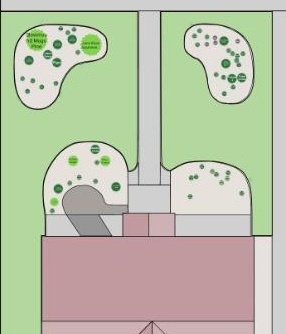
With this ‘Plan’ layer as my basis, I created layers for the ‘Property‘, ‘House‘, ‘Paths‘ and ‘Gardens‘. Later, I did not always remember to select the right layer before adding things, but objects can be moved around after they’re created. Using the Draw freehand lines tool I traced over the (mostly) straight lines of my Plan to recreate its relevant parts (think objects) in vector format on appropriate layers. Objects were selected to Fill with colour, or I used the Fill bounded areas tool to colour the in-between spaces.
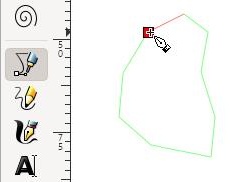
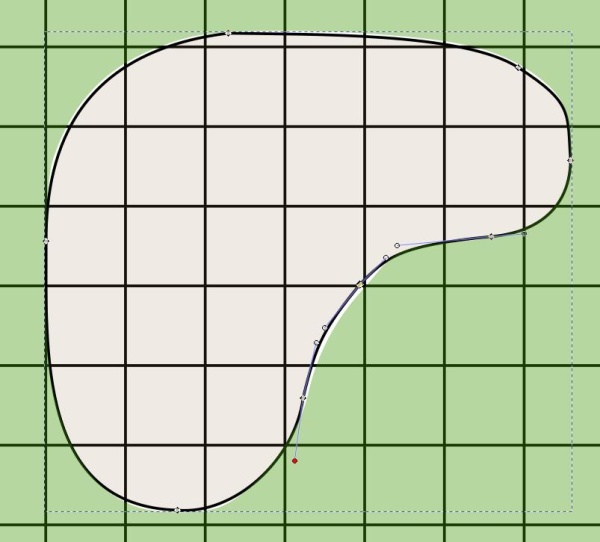
The gardens were mostly irregular shapes so I used the Draw bezier curves tool to plot a set of points roughly around the perimeter of each garden object, and then the Edit paths by nodes tool to select points, adjust their location and curve the lines by moving the two ‘handles’ attached to each point. I had already taken some real measurements of various points around my garden beds, in relation to something fixed like a sidewalk or driveway, so, to help me transfer these points, I used Extensions|Render|Grids to superimpose a grid of lines 2 feet apart on a ‘Grid‘ layer. Some calculations were required to get the scale right.
It’s a good idea to make changes only to this one, multi-layered file, and then, after deleting the ‘Plan‘ and ‘Grid‘ layers (which were for reference only), to Save As… the SVG copy that is required by Plant Recorder. The Configuration file has important and clear instructions on naming this file and bringing it into the app.
Next up
![]()